Monday 26 September 2011

Lucky Charm Mini Cupcakes

I got VERY excited courtesy of pinterest and cutestfood.com (Seriously, check it out you will pin EVERYTHING!). I found these babies and was desperate to make them, well something like them at least. Being in the UK, Lucky Charms cereal is difficult, not to mention expensive to come by. Lucky for me my lovely boyfriend spoils me and had bought me some already... As well as a mini cupcake tin and the cases for my birthday! My photography presentation for food isn't quite professional yet...


To make the Lucky Charm Mini Cupcakes:

Ingredients

2 cups Self Raising flour, sifted
3/4 cup Milk
3/4 cup Caster Sugar
125g Butter, melted
2 Eggs, whisked
1 teaspoon Vanilla Essence
1 teaspoon Baking Powder

Icing
75g Butter
3/4 cup Icing sugar
Green food colouring
1/4 cup Milk
2 cups Lucky Charms

Makes
About 48


Cupcake Preparation
Preheat the oven to 180 degrees centigrade. Whisk the butter and sugar together until creamy. Add eggs, milk, 1 cup of flour and mix till smooth with a wooden spoon. Fold in the last cup of flour and teaspoon of baking powder with a metal spoon. Spoon about one heaped teaspoon into each mini cupcake case lined in a mini cupcake baking tray. Bake for 12-14 minutes. Leave to cool for 5 minutes in the tray then 20 minutes on a wire rack before icing. Note: The cupcakes will be pale because of the milk.

Icing:Add the green food colouring and butter to the icing sugar and mix gently with a fork. Combine until the mixture resembles little green beads (this will be of different green tones if done right but not essential) then add the milk and mix with a metal spoon to make it icing, with the tiny dark green beads of sugar!


Top the cooled cupcakes with the icing and dip in Lucky Charms.


I made some large cupcakes too as my mini cupcake dish makes 12 at a time and I am impatient...


Alternatively arrange the Lucky Charms as you wish to get the prettiest look.

Lucky Baking! 


Sunday 25 September 2011

My First Free Printables - Owl Notecards!

Today I tried my hand at making a printable today. I made these cute little fellas and then got a bit carried away...


I have no idea how to add files as a proper download (help?) so right click your chosen note card and select open in a new window, right click on the screen next to the image and select print. Make sure its in colour and landscape! Leave a comment and let me know if you decide to use them in ANY way and perhaps become a follower of my little blog!


Owl note cards; Left Side Pastels.


 Owl note cards; Right Side Bright.


 Happy note taking!

Hello Autumn!

September is my favourite month of the year. Mostly because it is my birthday month but Autumn definitely has the prettiest colours of all seasons. It officially began in the UK on my birthday this year! That's Friday just gone.


As a little celebration of Autumn, my birthday and all things crafty here is some inspiration. QUICK BEFORE IT SNOWS!


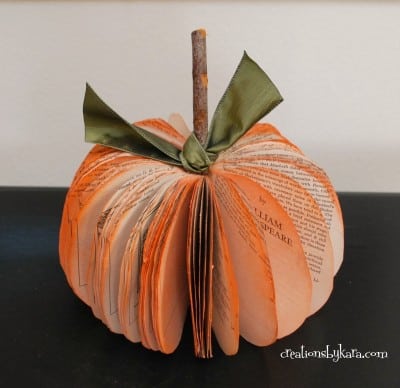
Pumpkin Greeting


Jane Joss's Sweet Leaves


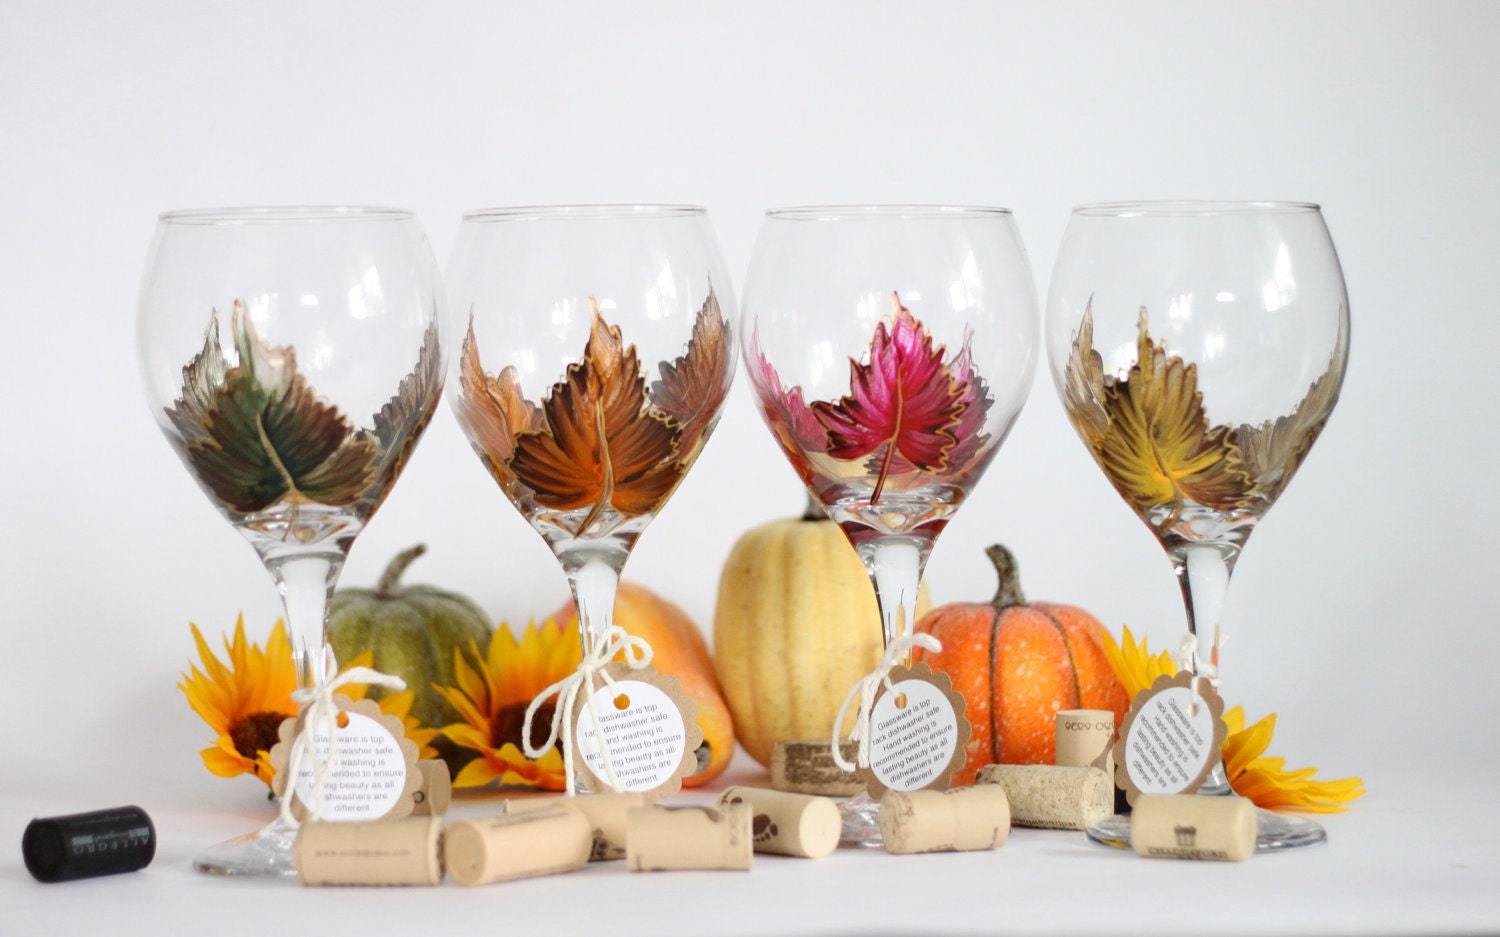
Set of 4 Autumn/ Fall gold leaf design for your seasonal home decor.


Southern Living Pumpkin Recipes: Mini Pumpkin Cakes


/


Best. Season. Ever.

Inspired?

Monday 19 September 2011

Re-Loved Jars - Hanging Tealight Holder Tutorial

A while ago I bought some beautiful glass 'Victorian' lampshades (50 pence each, read here), so typically meant for candles just missing their stands. Moving into my new house our garden desperately needs some accessories to brighten it up. (Still needs some serious paint on the ugly walls but the landlord needs to okay it first!) Inspired of course by other crafty garden upcyclers ideas.


So I grabbed the old lamps, a pair of pliers, a pair of wire cutters and some garden wire (that wont rust!).


Now read carefully; following these instructions is MUCH easier if you do it as you go.

1. Wrap the garden wire 2 times around jar. Some wire will be lost in the tidying up so this makes sure you use enough!

2. Cut the wrapped wire with wire cutters to size from the bulk and unravel it from the jar.

3. With the pliers, twist one end of the wire to a small loop around them that the wire will eventually fit through. Then remove from pliers.

4. Hold the loop next to but pointing away from the jar (so the wire goes across it in a straight line.

5. Tightly wrap the wire around the jar, half way (opposite the loop) twist the wire once to form another 'pointing away' loop in the structure and continue around to the first. 

Second (inner structure) loop: 
Wire through the loop(9)

6. Wrap the wire around the outside of the first loop (NOT through) to secure the end. Trim off excess wire with wire cutters.

First loop with wire end wrapped and trimmed: 
Wire wrapped in the loop (9)

7. Double check the loops are evenly spaced, adjust the second by simply untwisting it, and twisting it again further in the right direction.

8. Finally using however much wire you wish (less means a higher hang, more; a lower hang) cut to size using the wire cutters, using your eyes to judge.

9. Push one end of the wire about 2cm through one loop, twist it up and together to secure, repeat this on the other side with the other end of wire.


DONE! 
Reading and understanding this without doing it at the same time will be confusing but I digress. Its so simple once you have done one and the real garden wire (unlike shop bought tea light holders doesn't rust, BONUS!). Now to make many more:


Important note: - 
Put some sand or soil in the bottom followed by the lit tea light to stop them getting too hot and breaking, then hang them up!


These can be made out of ANY jar or glass that has a rim bigger than the part below it including mason jars, jugs, beer glasses etc etc, just adjust the wire amount. 

Hang them on trees with ribbon, in sturdy bushes, on walls and fences, on bench ends, even big sticks stuck in the flower beds. This list, like the glass/jar list is pretty much endless and the outcome is completely up to your own imagination.


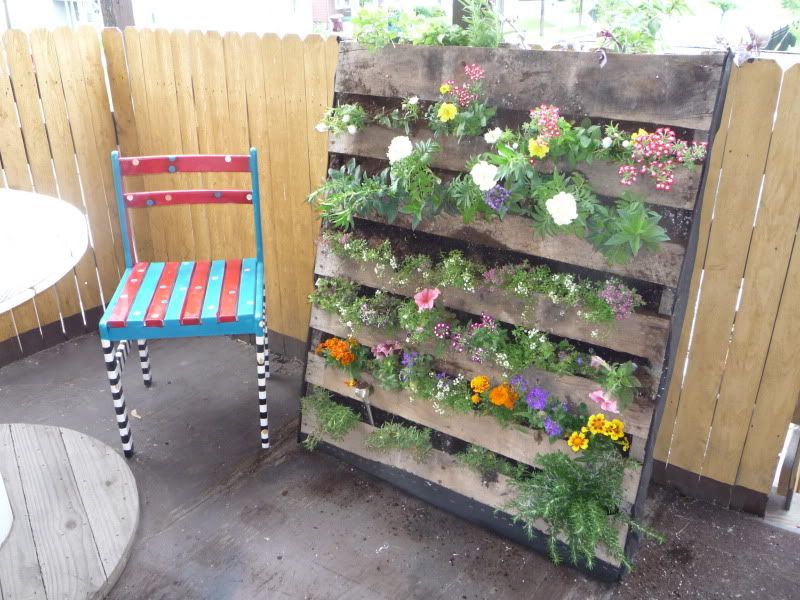
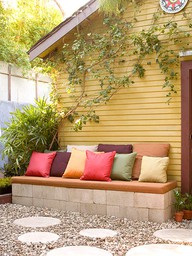
Weekly Inspirations 3 - Upcycling In The Garden

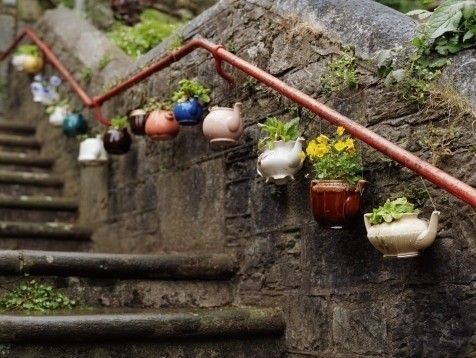
Autumn begins on September 23rd, (My birthday!) So as a final farewell to the summer, here is some upcycling garden inspiration before the winter comes-a-knocking and using the garden seems impossible.


The teapot planters are my favourite! I will try a few of my own versions of 
(some of) these and some tutorials so you too can enjoy your garden in the last days of summer. Still might need a cardigan though!


Related Posts Plugin for WordPress, Blogger...